I’ll admit, I’m not an avid guitar player. My instrument of choice has always been percussion. Whether it’s slapping my legs to some rhythm in-between my ears or pounding on a djembe or a doumbek or a bodhrán, that’s my first musical love. Heck, I even have an O.G. Roland electronic drum set still sitting in a box after, I don’t know, 9 or 10 years?
Finishing the job
In many ways, this is a continuation (culmination?) of the Randy Destroys Things from last year, when I tore into the Squier Mini Player.Today, I got a bug up my behind, dug out the old amp board, and literally tore it down to the bare PCB. Or as near as matters.
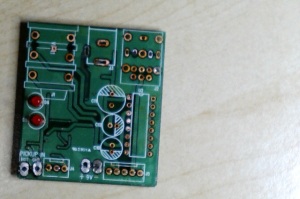
Yup, all torn down. Even tore out some traces on the other side.
But it wasn’t all for naught: I spent the day also painstakingly tracing all of the circuits on this board to give you (drumroll) a PDF of the schematic, as well as the KiCAD .SCH file (once I figure a good place to host it). Read the rest of this entry »